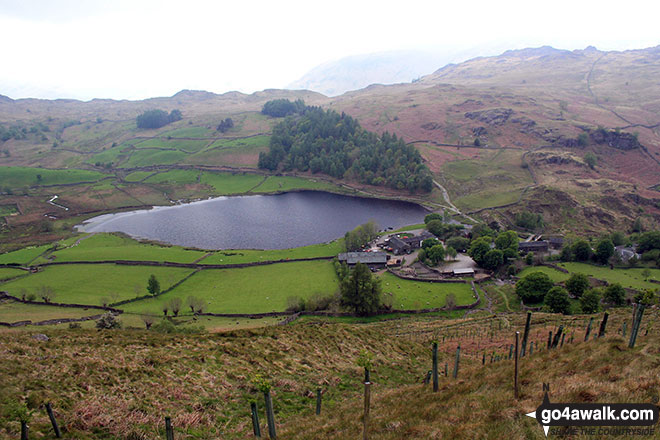
Walk High Tove, Ullscarf and Great Crag from Watendlath

Can be wet, wild & boggy

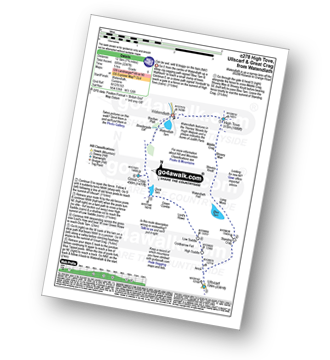
This 7¾ mile, Grade 6 (Moderate), easy-to-follow, hand-crafted walk, complete with GPS Waypoints, starts at Watendlath in the Lake District & will take you about 5 hrs to complete.


Download Walk PDF Icon
Download GPX Track Icon
Download GPS Waypoints Icon

Download Walk c278 Route Map

Detailed walk route map PDF
complete with GPS Waypoints

Vital Statistics:

Walk No.: c278
Length: 7¾ miles (12.5km)
Ascent: 2247 ft (685m)
Time: 5 hours
Grade: Walk Grade 6 (Moderate) Icon
Walk Type:High Mountains
Gear Needed:Full mountain gear including boots, warm layers, waterproofs, food & water, and good weather

Route outline for this walk:

Watendlath  -  High Tove  -  Middle Crag  -  Shivery Man  -  Shivery Knott  -  Long Moss  -  Blea Tarn (Watendlath Fell)  -  Ullscarf  -  High Saddle (Coldbarrow Fell)  -  Low Saddle (Coldbarrow Fell)  -  Lord's How  -  Green Combe  -  Dock Tarn  -  Great Crag  -  Watendlath


Peaks, Summits and Tops reached on this walk:

Hewitt Icon
1
English
Mountain
Wainwright Icon
3
Wainwrights
English Nuttall Icon
2
English
Nuttalls
Dewey Icon
0
English
Deweys
Wainwright Outlying Fell Icon
0
Wainwright
Outlying Fells
Marilyn Icon
0
Marilyns
Bridget Icon
0
Bridgets

Peak Bagging Statistics for this walk:

The highest point of this walk is Ullscarf at 723m (2372ft). Ullscarf is classified as an English Mountain (Hewitt) (84th highest in England, 145th highest in England & Wales) and a Wainwright (No. 74).

Ullscarf is also known as an English Nuttall (106th highest in England, 180th highest in England & Wales).

Completing this walk will also take you to the top of Low Saddle (Coldbarrow Fell) at 656m (2153ft). Low Saddle (Coldbarrow Fell) is also known as an English Nuttall (186th highest in England, 321st highest in England & Wales).

You will also reach the summit of High Tove at 515m (1690ft). High Tove is classified as an Wainwright (No. 167).

Along the way you will also bag and tick-off:

Top


Be Adventure Smart

If walking in the Lake District (and anywhere else) please be adventure smart.

Ask yourself 5 questions before you set off:

Note that there is no mobile phone or WiFi coverage in many parts of the Lake District

A dedicated GPS Device can be a good navigational aid, but only if you know how to use it properly. See The Myths and Truths about GPS for Walking and Hiking


You can find this walk and other nearby walks on these unique Interactive Walk Planning Maps:

(worth a look if you're new to go4awalk.com & have never seen one of these before.)

The Lake District National Park


1:25,000 scale OS Explorer Map (orange/yellow covers):

OS Explorer OL4 The English Lakes - North Western area


1:50,000 scale OS Landranger Maps (pink/magenta covers):

OS Landranger 89 West Cumbria, Cockermouth & Wast Water


OS Landranger 90 Penrith & Keswick, Ambleside


Top


Some Photos and Pictures from Walk High Tove, Ullscarf and Great Crag from Watendlath

In no particular order . . .
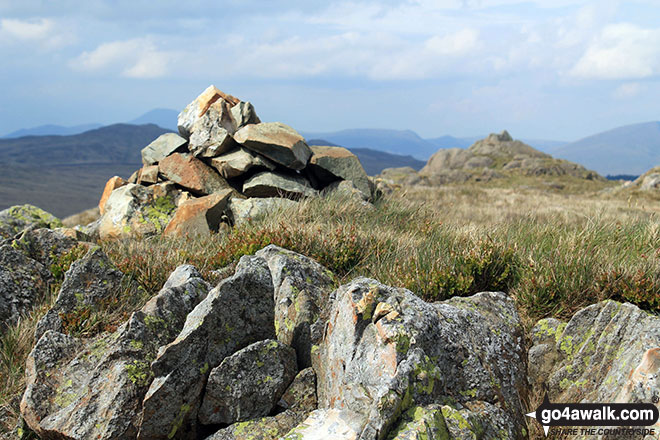
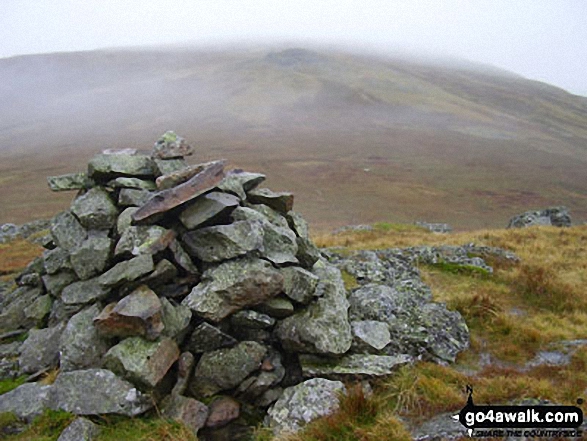
Bell Crags (Watendlath Fell) summit cairn

Bell Crags (Watendlath Fell) summit cairn

Photo: Stephen Collins (80)

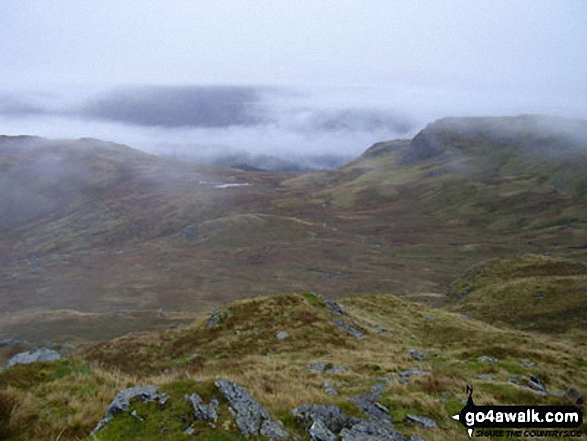
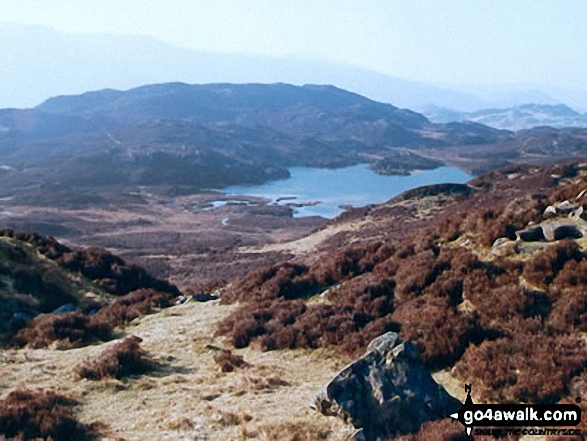
Dock Tarn and Green Combe from Low Saddle (Coldbarrow Fell)

Dock Tarn and Green Combe from Low Saddle (Coldbarrow Fell)

Photo: Marcel Bannon (17)

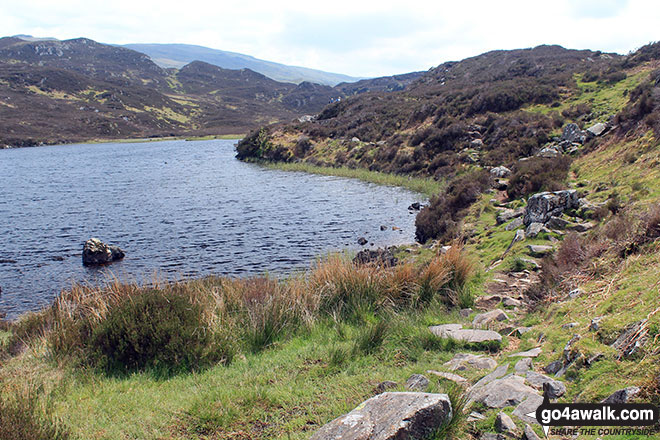
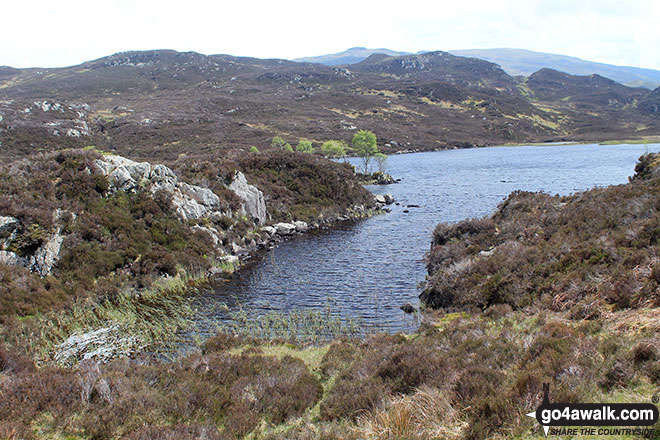
The path beside Dock Tarn (Watendlath Fell)

The path beside Dock Tarn (Watendlath Fell)

Photo: Stephen Collins (77)

Grange Fell (Brund Fell)

Grange Fell (Brund Fell)

Photo: Chris Leonard (41)

Eagle Crag and Sergeant's Crag from Low Saddle (Coldbarrow Fell)

Eagle Crag and Sergeant's Crag from Low Saddle (Coldbarrow Fell)

Photo: Marcel Bannon (18)

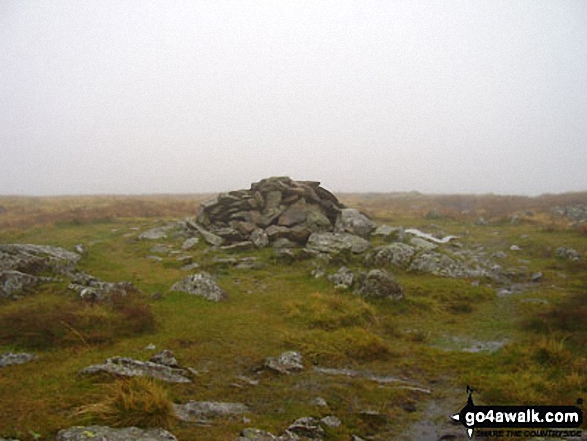
The large summit cairn on High Tove

The large summit cairn on High Tove

Photo: Stephen Collins (84)

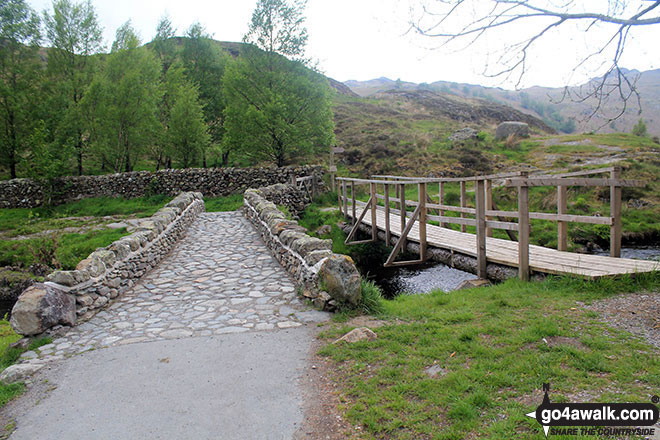
The bridge over Watendlath Beck, Watendlath

The bridge over Watendlath Beck, Watendlath

Photo: Chris Leonard (40)

The Borrowdale Fells from Green Combe near Dock Tarn

The Borrowdale Fells from Green Combe near Dock Tarn

Photo: Jamie Caryl (8)

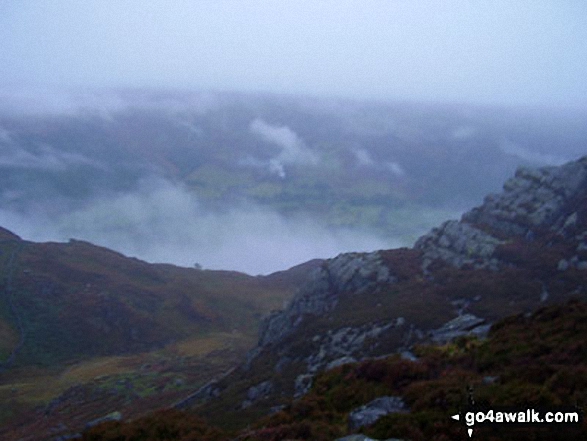
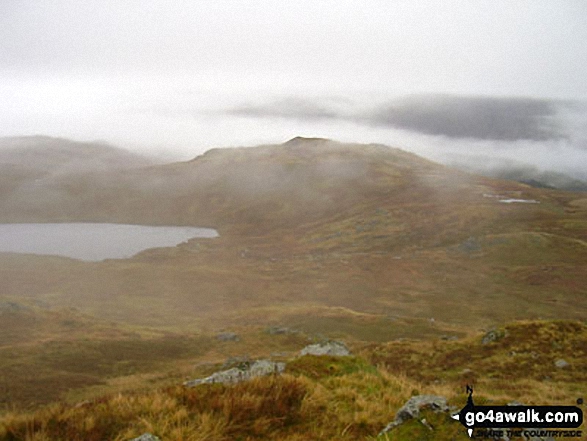
Green Combe, Lord's How and Blea Tarn from Low Saddle (Coldbarrow Fell)

Green Combe, Lord's How and Blea Tarn from Low Saddle (Coldbarrow Fell)

Photo: Marcel Bannon (19)

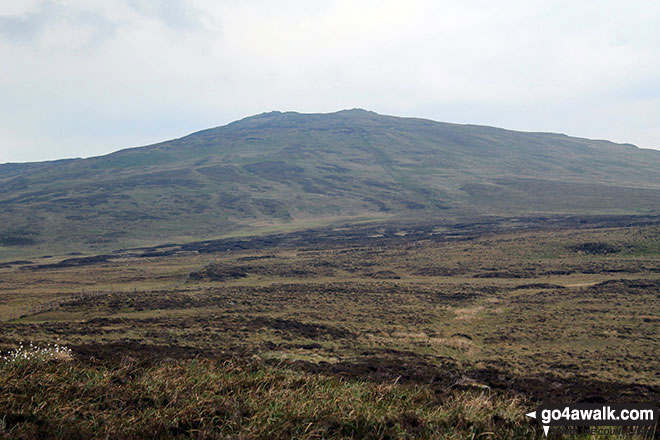
Bell Crags (Watendlath Fell) from Blea Tarn

Bell Crags (Watendlath Fell) from Blea Tarn

Photo: Stephen Collins (79)

High Seat (Ashness Fell) summit trig point

High Seat (Ashness Fell) summit trig point

Photo: Christine Shepherd (897)

The Langdale Pikes reflected in Blea Tarn on a cold early morning.

The Langdale Pikes reflected in Blea Tarn on a cold early morning.

Photo: Eddie Moyes (1)

The former home of Judith Paris in Watendlath

The former home of Judith Paris in Watendlath

Photo: Chris Leonard (39)

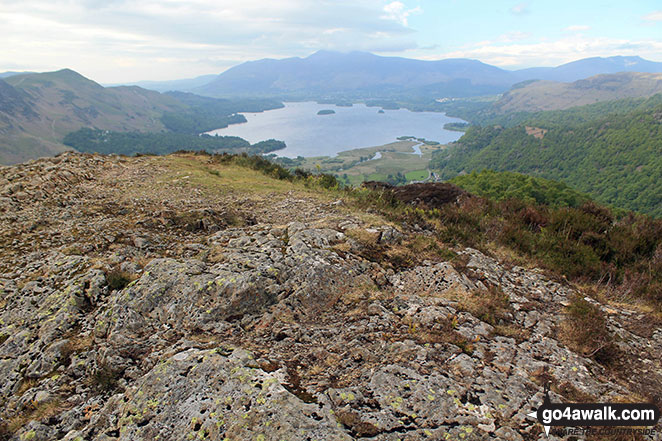
Watendlath & Watendlath Tarn with High Seat (Ashness Fell) beyond from the summit of Great Crag
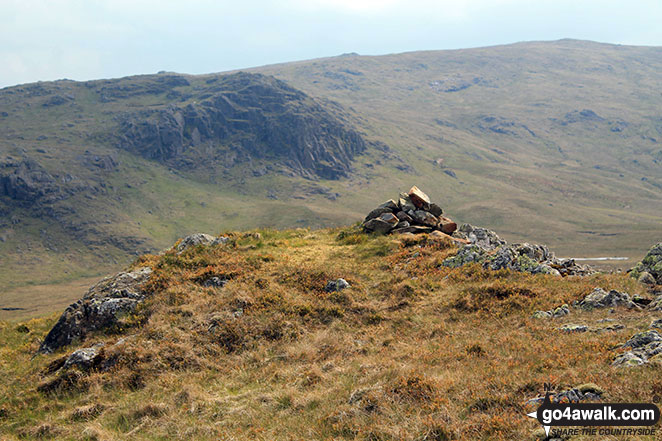
Watendlath & Watendlath Tarn with High Seat (Ashness Fell) beyond from the summit of Great Crag

Photo: Stephen Collins (72)

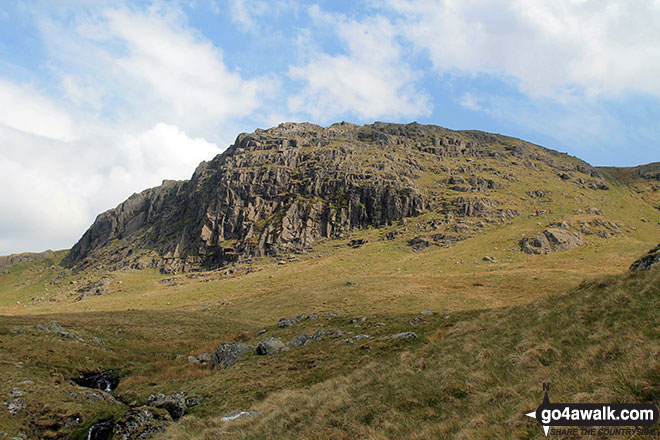
Bell Crags (Watendlath) with Standing Crag (left) & Ullscarf (right) in the background

Bell Crags (Watendlath) with Standing Crag (left) & Ullscarf (right) in the background

Photo: Alan Wainwright (225)

High Tove summit cairn

High Tove summit cairn

Photo: Alan Wainwright (232)

High Saddle (Coldbarrow Fell) summit with Ullscarf beyond

High Saddle (Coldbarrow Fell) summit with Ullscarf beyond

Photo: Marcel Bannon (13)

Raise (Helvellyn) summit cairn

Raise (Helvellyn) summit cairn

Photo: Christine Shepherd (889)

High Saddle (Coldbarrow Fell) summit cairn

High Saddle (Coldbarrow Fell) summit cairn

Photo: Marcel Bannon (14)

Views of the Borrowdale Fells from Green Combe near Dock Tarn

Views of the Borrowdale Fells from Green Combe near Dock Tarn

Photo: Jamie Caryl (7)

Small cairn on High Tove

Small cairn on High Tove

Photo: Stephen Collins (86)

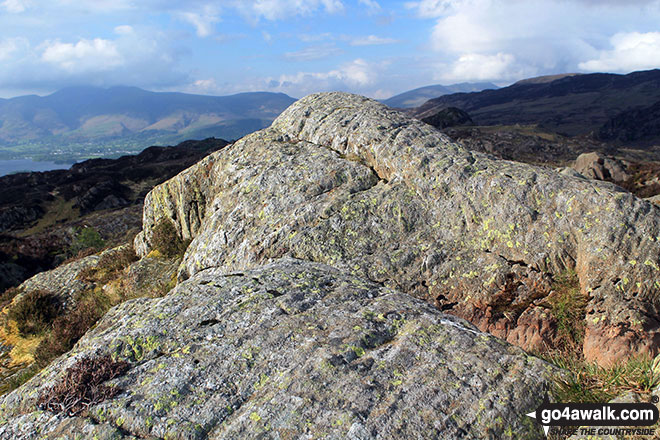
Skiddaw and Blencathra from the summit of Great Crag

Skiddaw and Blencathra from the summit of Great Crag

Photo: Stephen Collins (75)

Dock Tarn (Watendlath Fell)

Dock Tarn (Watendlath Fell)

Photo: Stephen Collins (76)

High Seat (Ashness Fell) from High Tove

High Seat (Ashness Fell) from High Tove

Photo: Stephen Collins (85)

Bell Crags (Watendlath) from Blea Tarn

Bell Crags (Watendlath) from Blea Tarn

Photo: Alan Wainwright (224)

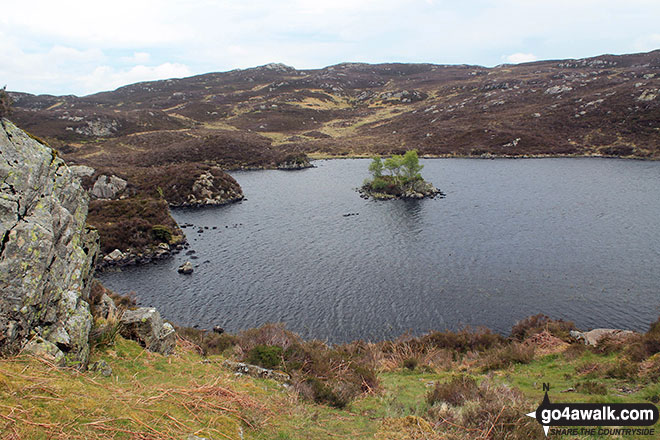
Dock Tarn (Watendlath Fell)

Dock Tarn (Watendlath Fell)

Photo: Stephen Collins (70)

Fairfield and Seat Sandal from The Wythburn Fells

Fairfield and Seat Sandal from The Wythburn Fells

Photo: Mike Knipe (141)

Me on the summit of Ullscarf

Me on the summit of Ullscarf

Photo: Christine Shepherd (848)

The summit cairn on Great Crag

The summit cairn on Great Crag

Photo: Stephen Collins (71)

High Tove summit Cairn

High Tove summit Cairn

Photo: Christine Shepherd (896)

Borrowdale from Great Crag

Borrowdale from Great Crag

Photo: Marcel Bannon (24)

Watendlath from Great Crag

Watendlath from Great Crag

Photo: Andy Malcolm (109)

Borrowdale from Great Crag

Borrowdale from Great Crag

Photo: Marcel Bannon (25)

Watendlath & Watendlath Tarn from the lower slopes of High Tove

Watendlath & Watendlath Tarn from the lower slopes of High Tove

Photo: Stephen Collins (88)

Standing Crag from Blea Tarn

Standing Crag from Blea Tarn

Photo: Stephen Collins (78)

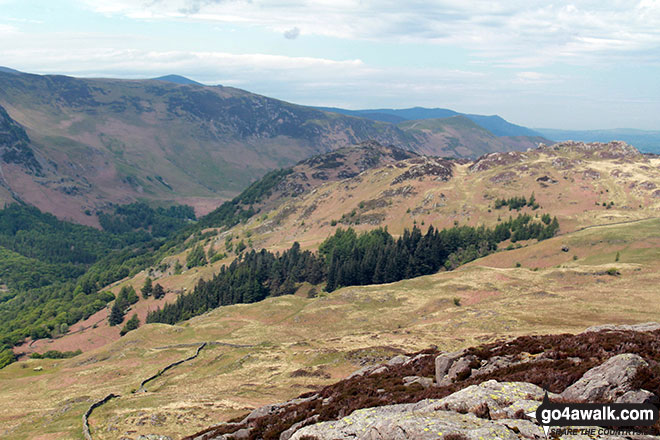
King's How and Grange Fell (Brund Fell) from the summit of Great Crag

King's How and Grange Fell (Brund Fell) from the summit of Great Crag

Photo: Stephen Collins (74)

Blea Tarn and Bell Crags from Low Saddle (Coldbarrow Fell)

Blea Tarn and Bell Crags from Low Saddle (Coldbarrow Fell)

Photo: Marcel Bannon (16)

Watendlath from Great Crag

Watendlath from Great Crag

Photo: David Hayter (17)

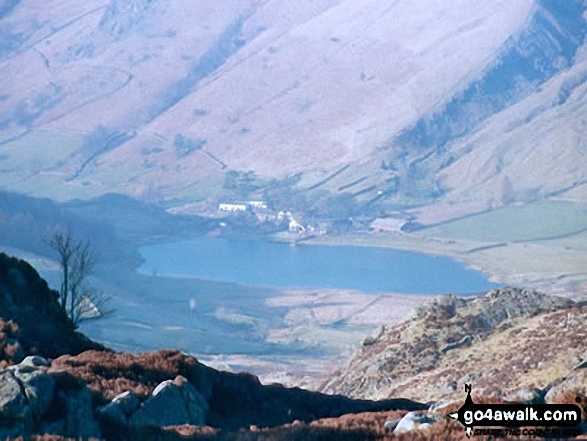
Watendlath Tarn from the path to High Tove and High Seat

Watendlath Tarn from the path to High Tove and High Seat

Photo: Alan Burke (1)

The summit of King's How with Derwent Water and Skiddaw in the distance

The summit of King's How with Derwent Water and Skiddaw in the distance

Photo: Alan Wainwright (233)

Tarn at Leaves from Rosthwaite Fell (Bessyboot)

Tarn at Leaves from Rosthwaite Fell (Bessyboot)

Photo: Christine Shepherd (849)

Ullscarf summit cairn

Ullscarf summit cairn

Photo: Marcel Bannon (11)

High Tove summit with High Seat (Ashness Fell) beyond

High Tove summit with High Seat (Ashness Fell) beyond

Photo: Jack Jones (3)

Circular enclosure near Watendlath

Circular enclosure near Watendlath

Photo: Stephen Collins (89)

Low Saddle (Coldbarrow Fell) summit cairn

Low Saddle (Coldbarrow Fell) summit cairn

Photo: Marcel Bannon (15)

Great Crag summit cairn

Great Crag summit cairn

Photo: Mark Davidson (50)

Watendlath Bridge

Watendlath Bridge

Photo: Brian Balfe (6)

Great Crag summit cairn

Great Crag summit cairn

Photo: Alan Wainwright (231)

Watendlath & Watendlath Tarn from the lower slopes of High Tove

Watendlath & Watendlath Tarn from the lower slopes of High Tove

Photo: Stephen Collins (87)

The Nelson Head, Horsey

The Nelson Head, Horsey

Photo: Terry Howard (203)

Great Crag summit cairn

Great Crag summit cairn

Photo: Marcel Bannon (23)

Grange Fell (Brund Fell) summit

Grange Fell (Brund Fell) summit

Photo: Mark Davidson (51)

The Langdale Pikes from Blea Tarn

The Langdale Pikes from Blea Tarn

Photo: Rob Barklamb (29)

The Langdale Pikes from Blea Tarn

The Langdale Pikes from Blea Tarn

Photo: Rob Barklamb (28)

High Saddle (Coldbarrow Fell) (left) and Low Saddle (Coldbarrow Fell) from Bell Crags (Watendlath Fell)
High Saddle (Coldbarrow Fell) (left) and Low Saddle (Coldbarrow Fell) from Bell Crags (Watendlath Fell)

Photo: Stephen Collins (83)

Rosthwaite and Borrowdale from the summit of Great Crag

Rosthwaite and Borrowdale from the summit of Great Crag

Photo: Stephen Collins (73)

White Side summit cairn

White Side summit cairn

Photo: Christine Shepherd (890)

The large cairn on the summit of High Tove summit

The large cairn on the summit of High Tove summit

Photo: Terry Howard (204)

Top


Send us your photographs and pictures from your walks and hikes

Send them in to us as email attachments (configured for any computer) along with your name/username and where the picture was taken to:

and we shall do our best to publish them.

(Guide Resolution = 300dpi. At least = 660 pixels (wide) x 440 pixels (high).)

Facebook Logo

You can also submit photos via our Facebook Page.

NB. Please indicate where each photo was taken so we can match it to a walk route.


Subscribe and Log On to hide external ads


And active line on a walk moving freely, without goal. A walk for a walk's sake - Paul Klee: 1879-1940
Follow go4awalk.com on Twitter Follow go4awalk.com on Facebook


Find new Friends to go walking with

Walk all 214 Wainwrights in just 59 Walks. Download GPS Waypoints - Great Walks you must not miss!

Walk The Yorkshire Three Peaks Challenge Walk - All the Latest Route Information, GPS Waypoints and Split Times to keep you on Schedule

Walk The British Three Peaks Challenge Walk - All the Latest Route Information and GPS Waypoints

See our pick of The Best Walks in The Lake District - Great Walks you must not miss!

Walk our pick of the Best Lake District Ridge Walks - Great Walks you must not miss!

Walk our pick of the Best Lake District Walks to do in the rain - Great Walks you must not miss!

Walk our pick of The Best Walks in Snowdonia - Great Walks you must not miss!

Walk our pick of The Best Ridge Walks in Wales - Walks you must not miss!

Walk our pick of The Best Walks in The Brecon Beacons - Great Walks you must not miss!

Walk our pick of The Best Walks in The Yorkshire Dales - Walks you must not miss!

Walk our pick of The Best Walks in The Peak District - Walks you must not miss!

Walk our pick of The Best Walks in The Forest of Bowland - Walks you must not miss!

Walk our pick of The Best Walks in Shropshire - Walks you must not miss!

Walk our pick of The Best Walks in Cheshire - Walks you must not miss!

Walk our pick of The Best Walks in Lancashire - Walks you must not miss!

Not sure where to walk next? Try Peak Bagging - Great Walks you must not miss!

Not sure where to walk next? Walk part of a National Trail - Great Walks you must not miss!

Walks with Downloadable and Uploadable GPS Waypoint Data

Walking Kit and Gear Tested by Walkers

Full Site Search